Blog
Here is some extra information pertaining to the app, and future additions we hope to incorporate.
Tutorial for MarkAR Application:
- Find Planes - stand up and have the camera look at the ground at an angle (may be difficult because the way the floor looks)
- See Objects You Wish to Place - once a white grid shows up tap on the cube+ icon on top right. A Snapchat like bar appears at the bottom of the screen and you can scroll to see the different 3D items you can place.
- Select and Place the Object - once you tap on a 3D object tap on the grid
- Drag Object to a Desired Location - once placed, you can tap on it, and drag it to wherever you like perpendicular to the grid.
- Scale the Object - pinch on a selected object (like zoom in zoom out gesture) to scale the object up and down
- Move Object up and Down - you can move a selected object up and down with the buttons on the right
- Find a Type of Object - you can locate a particular object and be navigated to it by clicking the locate 3D object icon.
Slideshow of the 2D icons created for the app.
Link to all of the 3D models created for the app.
In the future, we hope to implement more features into the app. These include:
- Persistent AR Experience - Users can exit the application and still see where they originally placed their 3D objects.
- Shared AR Experience - Users can place 3D objects in the real world and have other users see the objects they place down.
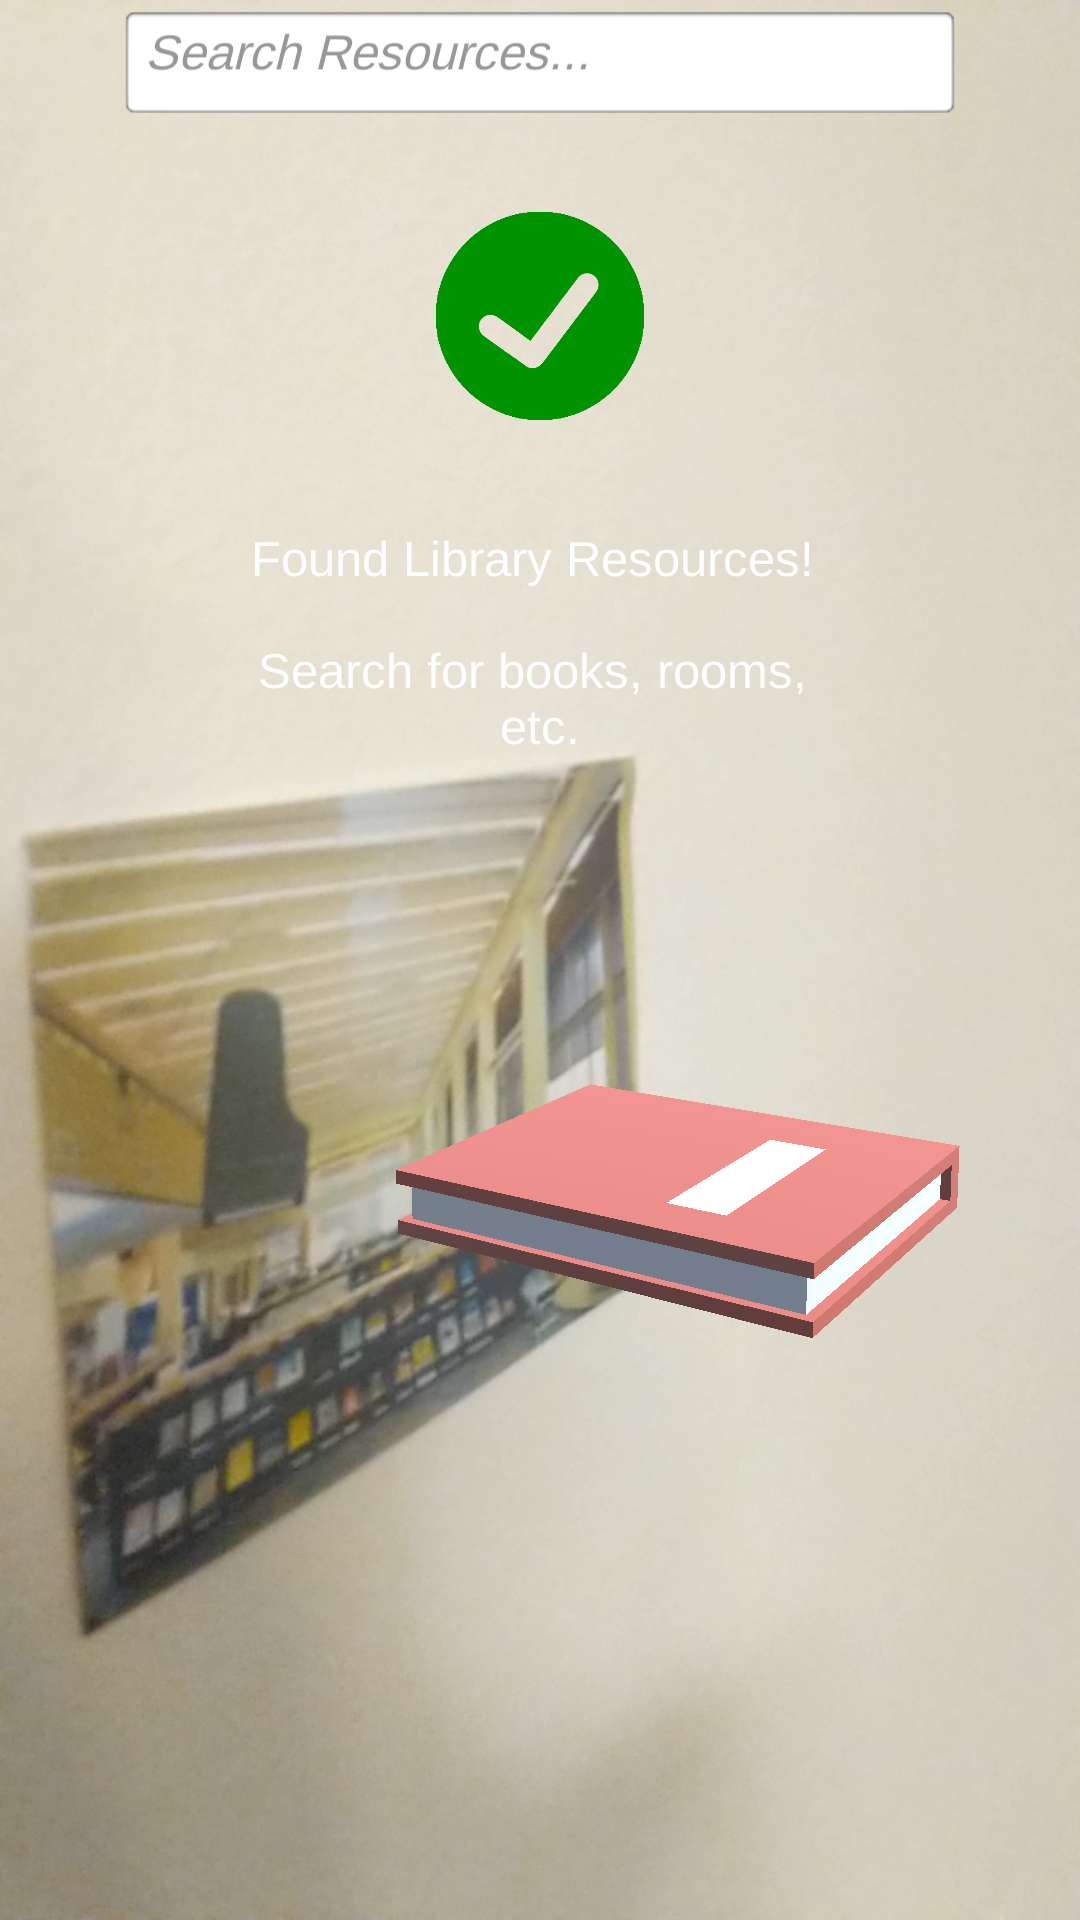
- Image Recognition AR Experience - Users can have their phone view a physical image through the camera (similar to scanning a QR code) and see a 3D object appear relevant to the image recognized.
- Users can tag their placed objects so that they can personalized to their liking